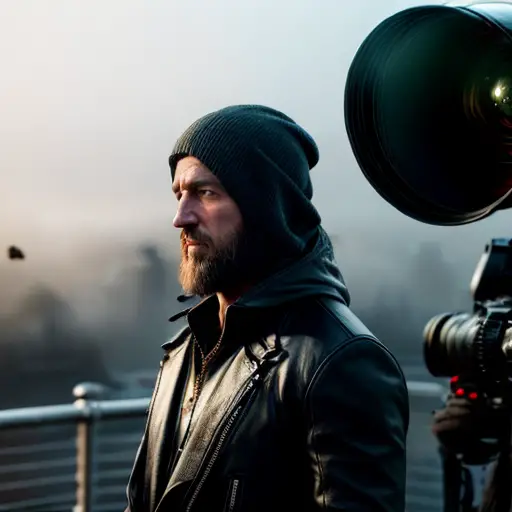
Alright, fellow shutterbugs, let's shed some light on the magical world of photography reflectors! These shiny, foldable contraptions are like the secret weapons in a photographer's arsenal, helping us manipulate light and create stunning shots. Now, using a reflector may seem as simple as holding a mirror, but there's more to it than meets the eye. First things first, choose the right size and color reflector for the job – silver for a punchy, contrasty effect, gold for a warm and cozy glow, and white for a soft, natural bounce. Positioning is key, my friends! Experiment with angles and distances to achieve the desired lighting effect. Remember, reflectors are our trusty sidekicks, bouncing light onto our subjects and banishing those pesky shadows. So, embrace the reflector, my fellow photographers, and let it be the shining star of your next shoot!
An interesting fact about using a photography reflector is that it can be used not only to bounce light onto the subject but also to create unique and creative lighting effects. By positioning the reflector in different angles and distances from the subject, photographers can manipulate the light to create interesting patterns, shadows, and highlights, adding depth and dimension to their photographs. This versatile tool allows photographers to experiment and unleash their creativity, resulting in stunning and visually captivating images.
Alright, my fellow photography enthusiasts, let's shed some light on the art of choosing the perfect reflector for your needs. Just like picking the right lens or camera, selecting the ideal reflector is crucial for capturing that picture-perfect shot. Now, when it comes to reflectors, size does matter. Consider the size of your subject and the shooting location to determine the appropriate reflector size. If you're shooting portraits, a medium-sized reflector will do the trick, while larger reflectors are great for landscapes or group shots. Now, let's talk colors! Silver reflectors are fantastic for adding a touch of drama, gold reflectors bring warmth and richness, and white reflectors provide a soft and natural glow. So, my friends, choose wisely and let your reflector be the secret ingredient that elevates your photography game to dazzling heights!

Mastering lighting techniques with reflectors is like unlocking a whole new world of creativity in photography. These versatile tools allow us to manipulate light and create stunning effects that can transform an ordinary shot into something extraordinary. So, let's dive into the art of using reflectors to master lighting techniques.
First and foremost, understanding the concept of positioning is key. Experiment with different angles and distances to achieve the desired lighting effect. Placing the reflector close to your subject will create a more intense bounce, while moving it further away will produce a softer, more diffused light. Don't be afraid to play around and find that sweet spot that enhances your subject's features and adds depth to your composition.
Another important aspect to consider is the color of your reflector. Silver reflectors are excellent for adding a punchy, contrasty effect to your images. They work wonders in brightening shadows and creating a more dramatic look. On the other hand, gold reflectors provide a warm and cozy glow, perfect for capturing those golden hour shots. And let's not forget about white reflectors, which offer a soft and natural bounce, ideal for portraits and product photography.
Size matters when it comes to reflectors. A larger reflector will provide a broader coverage area, making it great for shooting landscapes or group shots. On the other hand, a smaller reflector is more portable and can be easily maneuvered to focus the light on specific areas or subjects. Consider the size of your subject and shooting location to determine the appropriate reflector size for your needs.
Lastly, don't be afraid to experiment and think outside the box. Reflectors can be used in unconventional ways to create unique lighting effects. For example, try using a reflector as a makeshift diffuser by placing it between your subject and a harsh light source. This will help soften the light and create a more flattering and even illumination.
So, my fellow photographers, embrace the power of reflectors and let your creativity shine. Mastering lighting techniques with reflectors will not only elevate your photography skills but also open up a world of possibilities to capture breathtaking images. Happy shooting!
A fun fact about using a photography reflector is that it can double as a makeshift mirror for quick touch-ups on the go! So not only does it enhance lighting and create beautiful effects in your photos, but it can also help you fix your hair or check your makeup in a pinch. Talk about a versatile tool!
Let's explore the creative applications of photography reflectors, my fellow artists! These versatile tools are not limited to simply bouncing light onto our subjects. Oh no, they can be used in a multitude of imaginative ways to add flair and uniqueness to our shots. For instance, try using a reflector as a makeshift backdrop, reflecting colorful patterns or textures onto your subject. You can also experiment with using multiple reflectors to create intricate and dynamic lighting setups. And don't forget about the power of negative fill – by positioning a reflector opposite your main light source, you can create dramatic shadows and add depth to your composition. So, let your creativity run wild and think outside the box when it comes to using photography reflectors. The possibilities are endless, my friends!